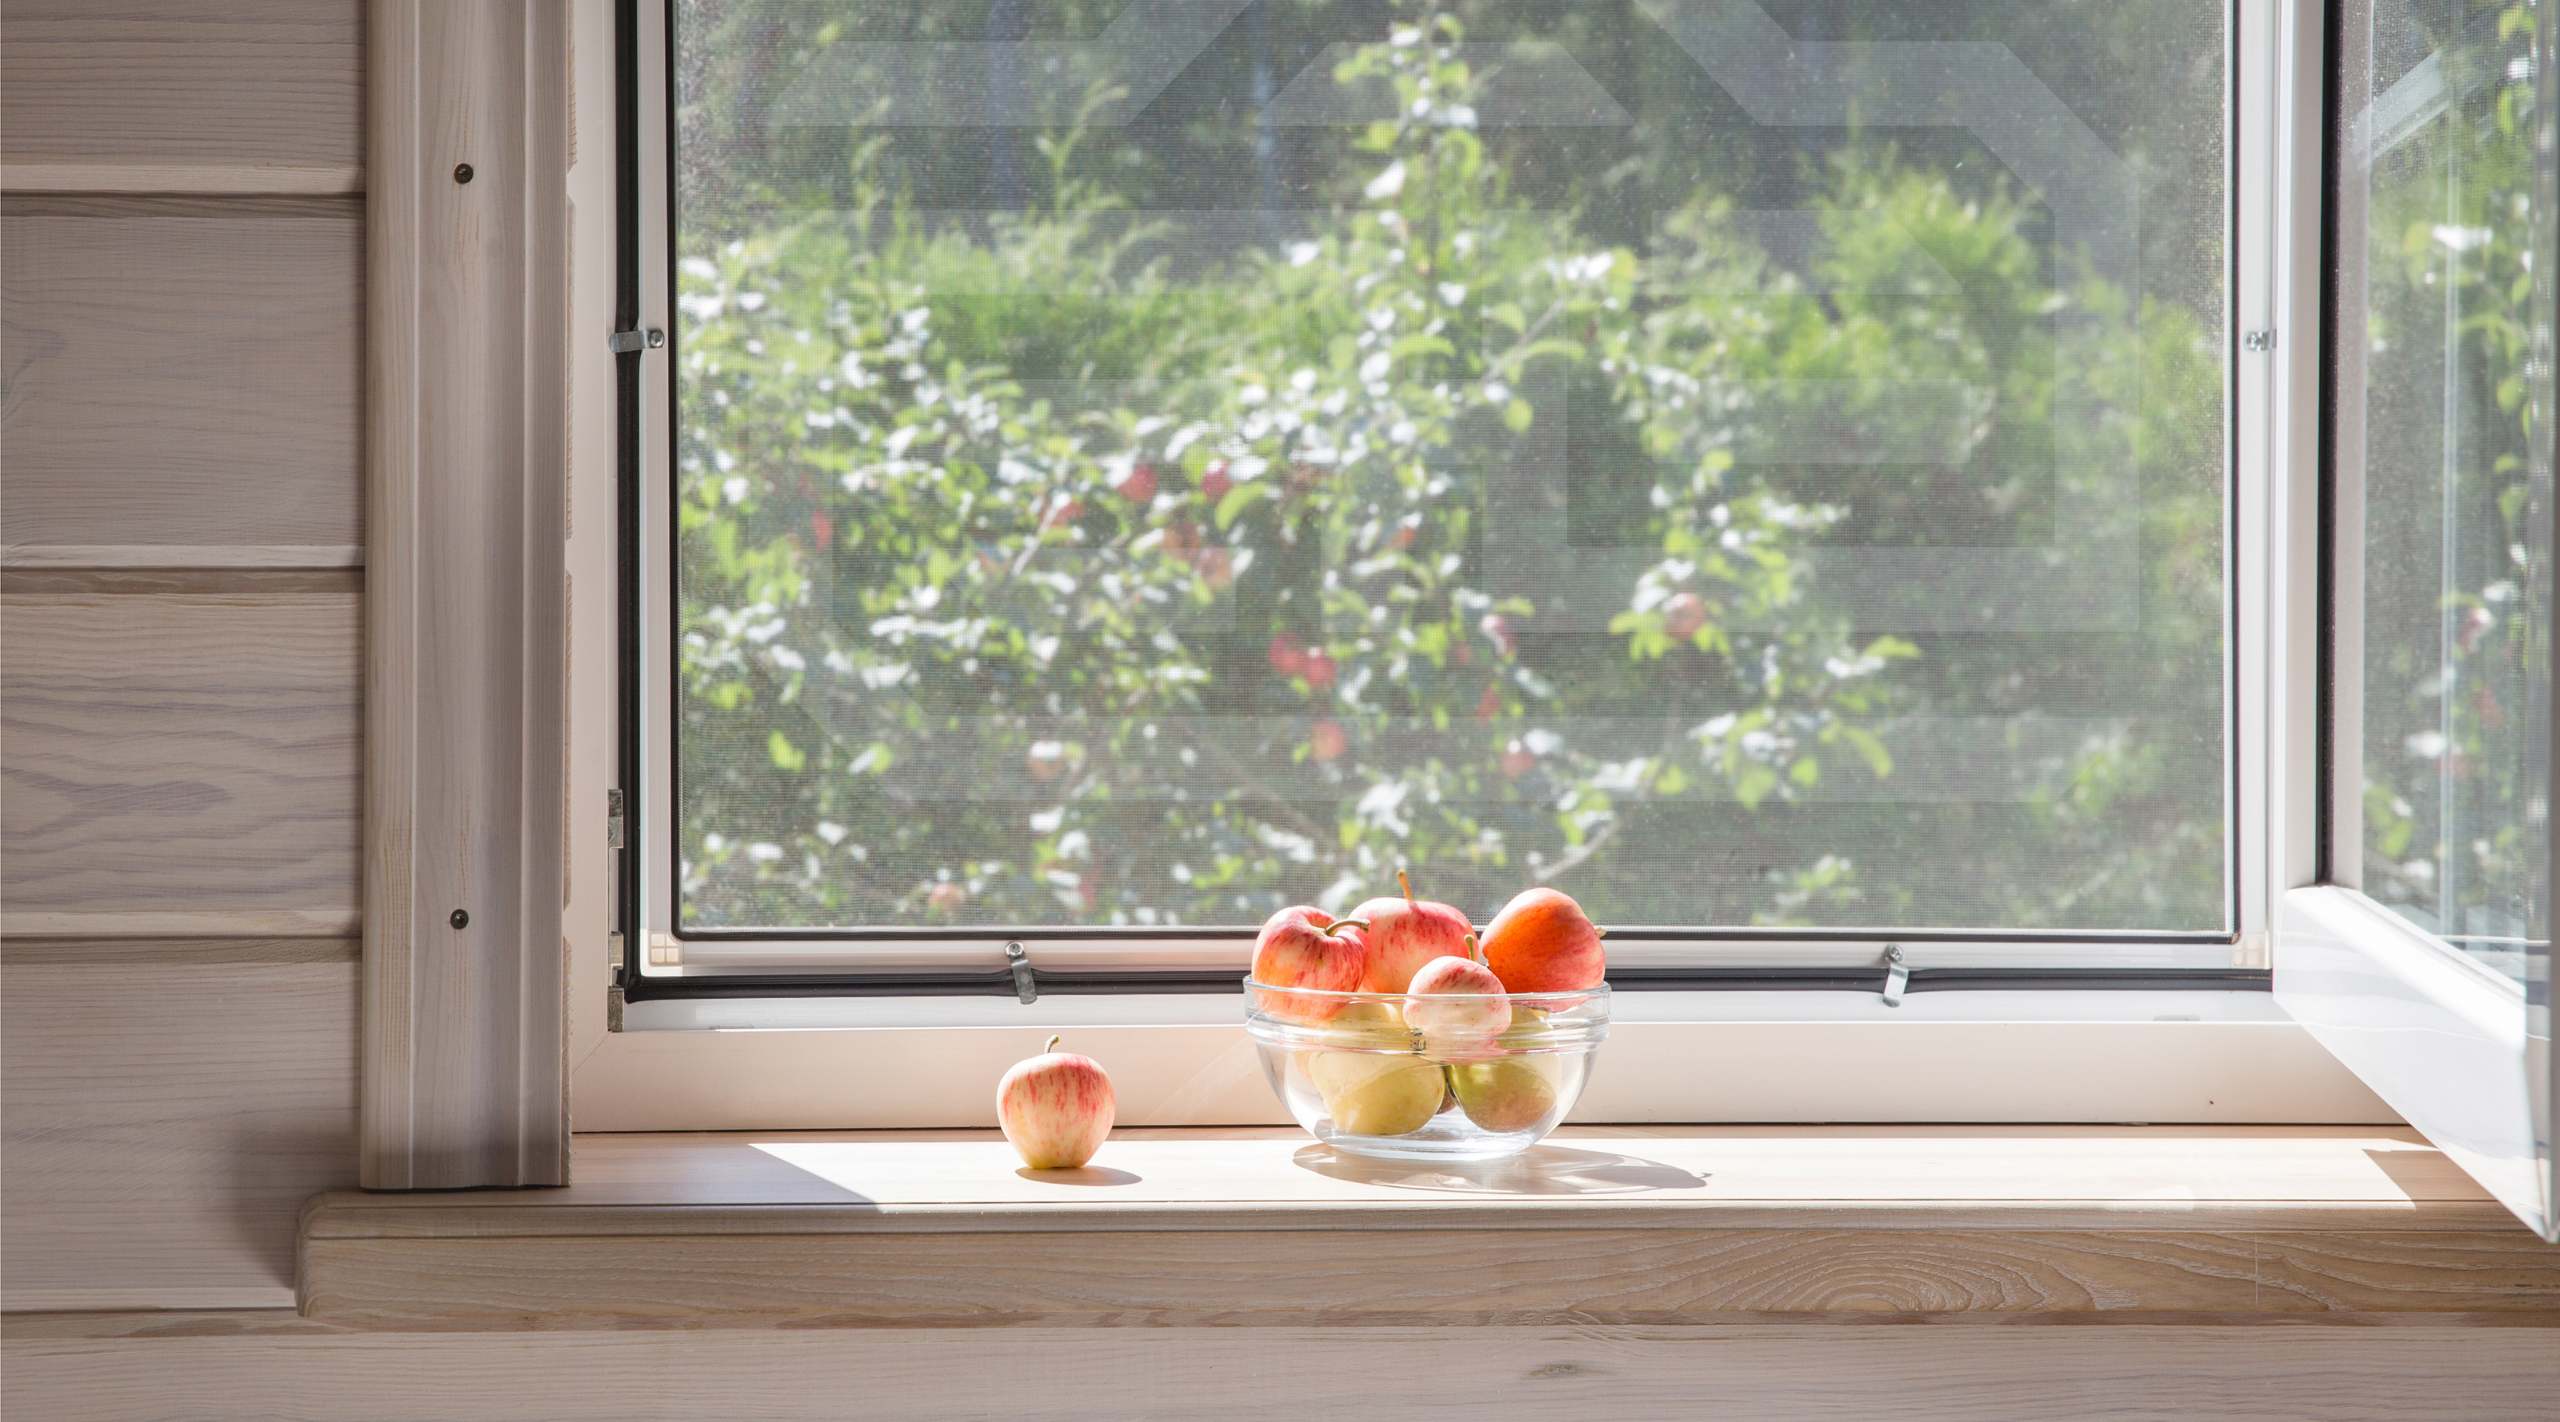
When you’re faced with a torn or damaged screen mesh in your windows or sliding glass doors, it can be a pesky problem that needs fixing. The good news is that you can tackle this DIY project and save some money while gaining satisfaction from your home improvement endeavors. In this guide, we’ll walk you through the steps of replacing the screen mesh in your frames, providing you with the skills and knowledge to get the job done.
However, if you find yourself short on time or would rather leave it to the experts, know that Handymen is here to assist. Our professional technicians are just a click away, ready to ensure your screen replacement project is completed to perfection.
Preparing for the Task
Before diving into the screen replacement process, it’s crucial to be well-prepared. Gather the tools and materials you’ll need, such as a screwdriver, utility knife, replacement screen mesh, small brush, and spline roller tool.
Removing the Screen Frame
To start, you’ll need to safely remove the screen frame from your window or sliding glass door. The process may vary depending on the type of frame you have.
Locate Fasteners:
Identify the fasteners securing the frame to the window or sliding glass door. These may be screws, clips, or other types of connectors. Depending on your specific frame, the removal process might involve unscrewing or unclipping these fasteners.
Window:
On a window with an aluminum framed screen there is usually a tab that allows you to pull up or sideways depending on its orientation to lift out the screen frame itself.
Sliding Door:
On a door, you would typically lift it upward into the screen door frame off its wheels or track and pull it out.
Taking Measurements
Begin by measuring the width and height of the frame opening where the screen mesh will be installed. Measure from the inside of the frame, taking care to record your measurements precisely.
Adding Extra Length:
It’s a good practice to add a couple of extra inches to your measurements. This additional length ensures that you have enough mesh to secure it properly, allowing for a snug and wrinkle-free fit. You can always trim any excess later.
Diagonal Measurements:
For extra precision, measure the diagonal distances across the frame opening, from corner to corner. When these measurements are equal, you’ll know your frame is perfectly square.
Check, Double-Check, and Triple-Check:
As mentioned earlier, the more you measure, the more confident you can be in the accuracy of your dimensions. Double-check your measurements to avoid costly errors.
Removing the Old Mesh
Removing the old, damaged screen mesh is a step that you can complete with the help of a utility knife or scissors. There is a rubber piece known as the spline that holds the tension along the edges. This spline is an important element in keeping the screen taut and secure. If it is in good condition, you can re-use it. We usually replace the spline with a new one to extend the life of the new screen. Remember to clean out the groove with a brush.
Preparing the New Screen Mesh
With your precise measurements in hand, it’s time to prepare the new screen mesh, ensuring it fits your frame like a tailor-made suit. Imagine this step as the craftsman’s careful selection of the finest materials before fashioning a masterpiece. Here’s how to do it:
Choosing the Right Mesh:
Select a high-quality screen mesh that suits your needs. Different meshes are available, from standard insect screens to those designed for improved durability and sun protection. Ensure the mesh’s color complements your existing frame and your preferences for aesthetics and functionality.
Unrolling the Fabric:
Lay out the screen mesh on a clean, flat surface. Smooth it out gently to remove any creases or folds. Visualize it as a blank canvas ready to become a protective barrier for your window or sliding glass door.
Measuring and Cutting:
Refer to your earlier measurements and mark the dimensions on the mesh using a straight edge. Make precise cuts, ensuring clean, straight lines. Remember the wisdom of carpenters throughout the ages: “Measure twice, cut once.” Precision in this step will lead to a seamless, wrinkle-free fit.
Adding Some Wiggle Room:
It’s advisable to add a couple of extra inches to your mesh’s dimensions. This provides a margin for error and allows for a snug and secure fit. You can always trim away any excess later, but you can’t stretch it if it’s too short.
Installing the New Screen Mesh
Installing the new screen mesh is where the art of screen replacement truly comes to life. It’s a step that demands precision and care, akin to the delicate touch of a master painter adding the final strokes to a masterpiece. Here’s how to do it:
A Smooth Start:
Begin by placing the cut mesh over the frame. Ensure it aligns perfectly with the frame’s edges, leaving a bit off excess to be cut off later. Visualize it as the canvas perfectly centered on the easel, ready to receive the artist’s touch.
Securing the Mesh:
Using a spline roller tool, gently press the mesh into the frame’s grooves. Start at one corner and work your way around, taking your time to ensure an even and secure fit. Imagine the roller tool as the brush in the hand of a skilled artist, carefully bringing the canvas to life.
Tension and Precision:
Maintain even tension as you work the mesh into the grooves. Ensure there are no wrinkles or sags. Much like an artist striving for a perfectly balanced composition, your aim is to achieve a taut and flawless finish.
The Spline Material:
The spline, a flexible cord, plays a crucial role in securing the mesh. Gently press it into the groove over the mesh, following the same path as the spline roller tool. The spline holds the mesh firmly in place, ensuring it won’t budge.
Trimming the Excess:
Once you’ve secured the mesh and spline around the entire frame, trim any excess mesh and spline material. Be precise in this step, cutting away any protruding material to ensure a clean and professional look.
A Work of Art:
By the end of this step, your screen mesh installation should resemble a work of art, perfectly aligned and free of imperfections. Each roll of the spline tool and every cut made contributes to the final, impeccable result.
Putting the Finished Screen Back in its Home
Once your new screen mesh is securely attached, carefully reinsert the frame into the window or sliding glass door, ensuring that the frame is aligned correctly during reinsertion for a snug fit.
Final Checks and Adjustments
After completing the installation, inspect the screen for any loose areas or imperfections.
Now you have the knowledge and confidence to take on the task of replacing your screen mesh, whether it’s for a window or sliding glass door. The satisfaction of DIY home improvement is within reach, and Handymen is here to support you every step of the way. If you ever feel that time constraints or expertise are holding you back, remember that our professional technicians are ready to assist, making your screen replacement project hassle-free and ensuring a perfect result.
By offering the flexibility of DIY tips and professional service, Handymen is dedicated to meeting your home improvement needs and providing you with options that suit your preferences and schedule.