As your trusted professional handyman service, we understand that sometimes you might want to take matters into your own hands and tackle a simple project around the house. Today, we’re going to guide you through an easy and satisfying DIY project: changing your door hardware to freshen up the look of your door. Whether you’re a seasoned DIY enthusiast or just starting, this simple upgrade can make a significant difference in the overall appearance of your home. So, let’s get started!
Step 1: Gather Your Tools and Materials
Before diving into any DIY project, it’s essential to have the right tools and materials at hand. For this project, you will need:
-
New door hardware (knob/lever and deadbolt)
-
Screwdriver (Phillips head or flathead, depending on your current hardware)
-
Measuring tape
-
Pencil
-
Sandpaper (optional, for prepping the door surface)
Step 2: Choose the Right Door Hardware
Selecting the right door hardware can greatly influence the aesthetics and functionality of your door. When choosing new hardware, consider the existing style and color scheme of your home. Opt for finishes that complement the overall design. Popular choices include brushed nickel, oil-rubbed bronze, and satin chrome. Additionally, ensure that the hardware you choose matches the size and configuration of your current door setup.
Step 3: Remove the Old Hardware
To begin the transformation, you’ll need to remove the old door hardware. First, use the screwdriver to remove the screws holding the knob or lever in place. Next, remove the strike plate and the screws securing the deadbolt to the door frame. Keep all the old hardware components together for proper disposal or donation.
Step 4: Measure and Mark the Door
Before installing the new hardware, take accurate measurements to ensure a precise fit. Measure the backset (distance from the edge of the door to the center of the hole) of both the knob/lever and deadbolt. Mark these measurements on your door using a pencil. Additionally, use a measuring tape to find the center point of your door for proper alignment.
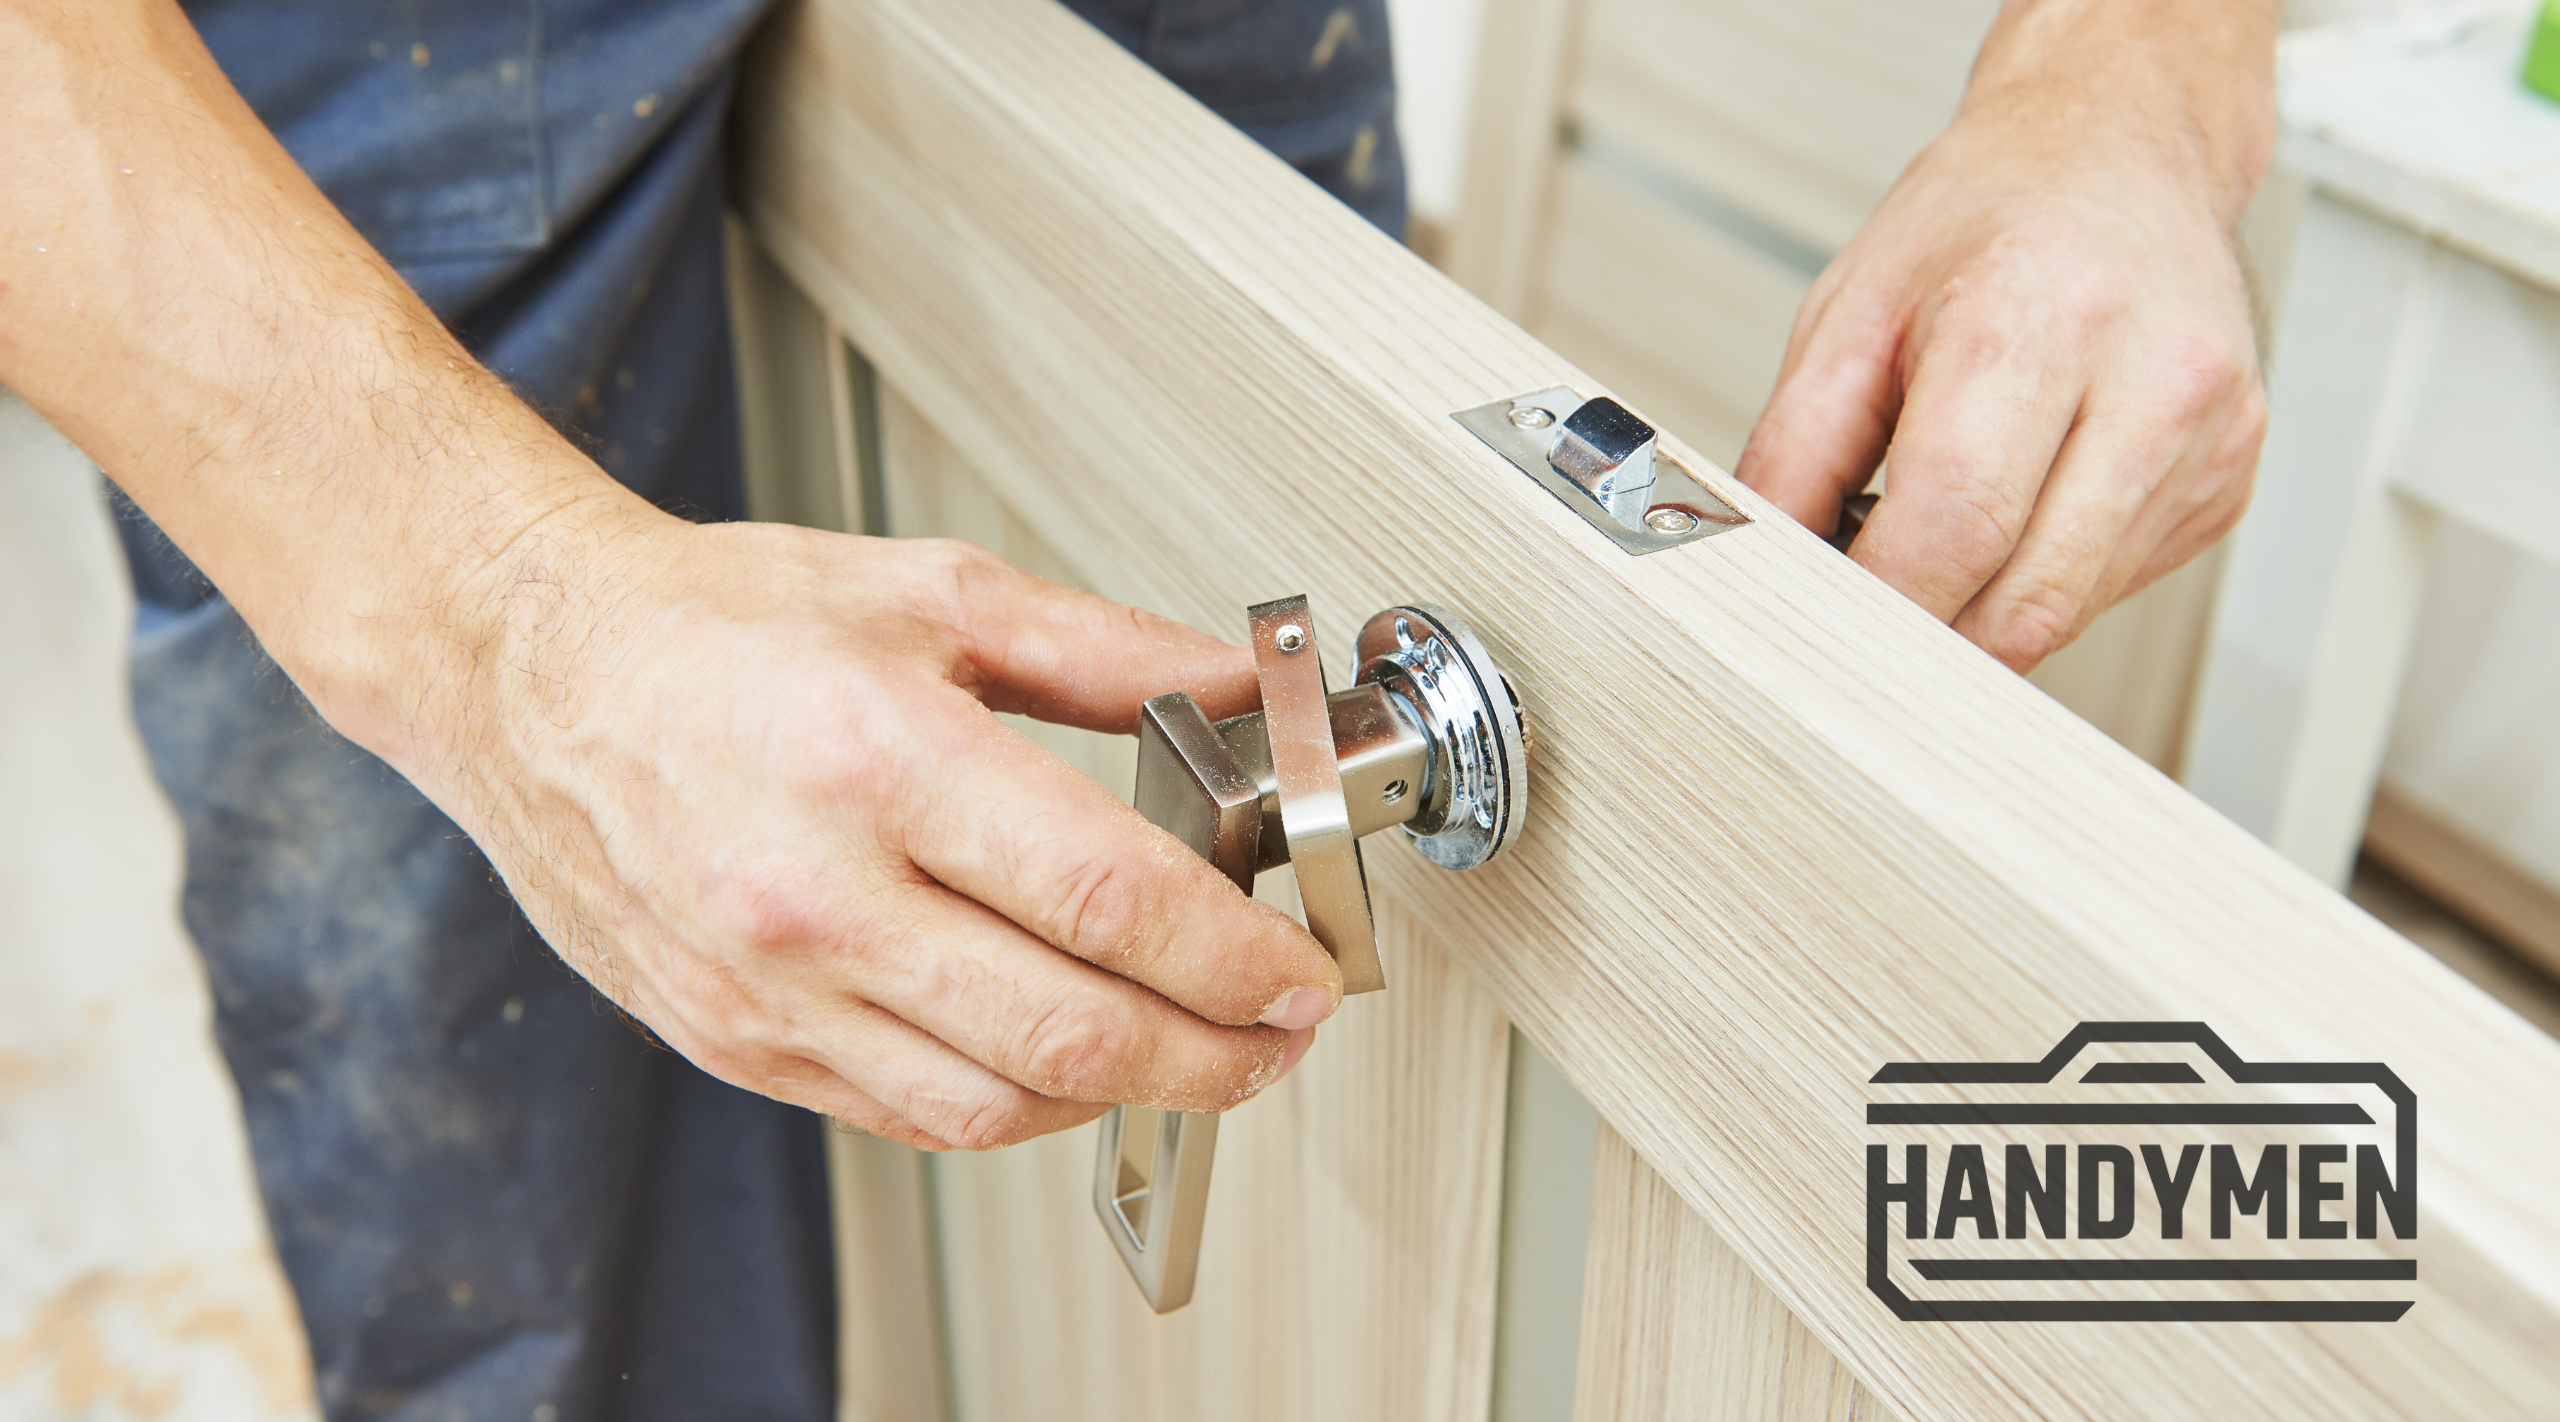
Step 5: Install the New Hardware
With your door prepared, it’s time to install the fresh door hardware. Follow these general steps:
For the Knob/Lever:
-
Insert the spindle through the latch mechanism.
-
Align the knob/lever on both sides of the door, ensuring the spindle passes through the center.
-
Secure the knob/lever in place with screws.
For the Deadbolt:
-
Insert the deadbolt into the edge of the door, ensuring the bolt faces the door jamb.
-
Align the strike plate on the door frame, making sure the bolt fits smoothly into the hole.
-
Secure the deadbolt and strike plate in place with screws.
Step 6: Test and Adjust
Once the new hardware is installed, test the door’s functionality. Ensure that the latch and deadbolt work smoothly without any resistance. If needed, make minor adjustments to ensure a perfect fit.
Some additional “Handymen” tips:
-
Having tooth-pics on hand will help if you have stripped out screw holes.
-
Check the gap all around the door to make sure it’s even. If it is not, then you might want to call a professional.
-
Renew the weather stripping while you are at it.
-
Purchasing a lock that is easily re-keyable by you.
Congratulations! You’ve successfully completed a DIY project that has revitalized your door’s appearance. Changing your door hardware is a simple yet impactful way to freshen up your home’s style. Handymen is always here to help with any home improvement projects you might have. We also encourage you to explore your DIY skills, and this project is a great place to start. Remember, safety is essential, and if you ever feel unsure or encounter difficulties during the process, don’t hesitate to reach out to our team for expert assistance. Happy DIY-ing!