As a homeowner, it’s important to have a basic understanding of your plumbing system to handle minor repairs and maintenance tasks. One crucial component you might encounter under your sink is the angle stop valve. We will explain what an angle stop is, its types, and why upgrading to a newer quarter-turn valve can be beneficial. We’ll also provide a step-by-step guide to help you confidently replace your angle stop. Remember, if you ever feel overwhelmed or encounter difficulties, don’t hesitate to reach out to Home Services Revolution – Handymen for assistance.
Understanding Angle Stops:
An angle stop, also known as an angle valve or shut-off valve, is a vital part of your plumbing system. Its primary purpose is to control the water flow to a specific fixture, such as a sink, toilet, or dishwasher. Angle stops are usually located under sinks and toilets, allowing easy access for shutting off the water supply in case of leaks, repairs, or fixture replacements.
Types of Angle Stops:
There are three common types of angle stops you may encounter under your sink:
- Compression Fit Angle Stops: These traditional angle stops use a washer to create a seal and control water flow. Gate valves require multiple turns to fully shut off the water supply. Over time, the washers can wear out, leading to leaks or difficulty in turning the valve. Modern quarter-turn angle stops are an upgraded version that uses a ball valve to control water flow. They require only a 90-degree turn to fully open or close the valve. This design minimizes wear and tear, leading to a longer lifespan and smoother operation.
- Push-to-Connect Angle Stops: Push-to-Connect angle stops, also known as quick-connect or push-fit angle stops, are the easiest to install. They don’t require any tools or wrenches. Instead, they use a push-fit mechanism that allows you to simply push the supply line into the valve for a secure connection. To disconnect, you push the release collar and pull the line out. These come in both gate valves and ball valves.
- PEX Angle Stops: A newer type of plumbing connection, PEX is a system with plastic lines and metal connections. If there is plastic supplying the water instead of copper lines this is part of a PEX system. Push-fit and crimp connections are common. If a crimp is present, you will need to cut the line behind the hardware to install a new PEX connection.
Benefits of Upgrading to Quarter Turn Angle Stops:
Considering the advantages of quarter-turn angle stops, upgrading to this type of valve is highly recommended:
- Improved Functionality: The ease of operation with just a 90-degree turn ensures quick shutoffs in emergencies or during repairs.
- Longer Lifespan: The ceramic disc design reduces wear, providing greater durability and fewer chances of leakage.
- Water Conservation: The precise control offered by quarter-turn stops helps reduce water wastage.
- Future Cost Savings: Investing in high-quality quarter-turn angle stops can save you money in potential repairs and replacements down the road.
Replacing Your Angle Stop – Step-by-Step Guide – Copper Pipes:
Note: Before attempting any plumbing work, turn off the main water supply to your home.
Step 1: Gather the Tools
You will need an adjustable wrench, a pair of pliers, and plumber’s tape.
Step 2: Turn Off the Water
Locate the main water shut-off valve and turn it off to prevent any water flow to the angle stop.
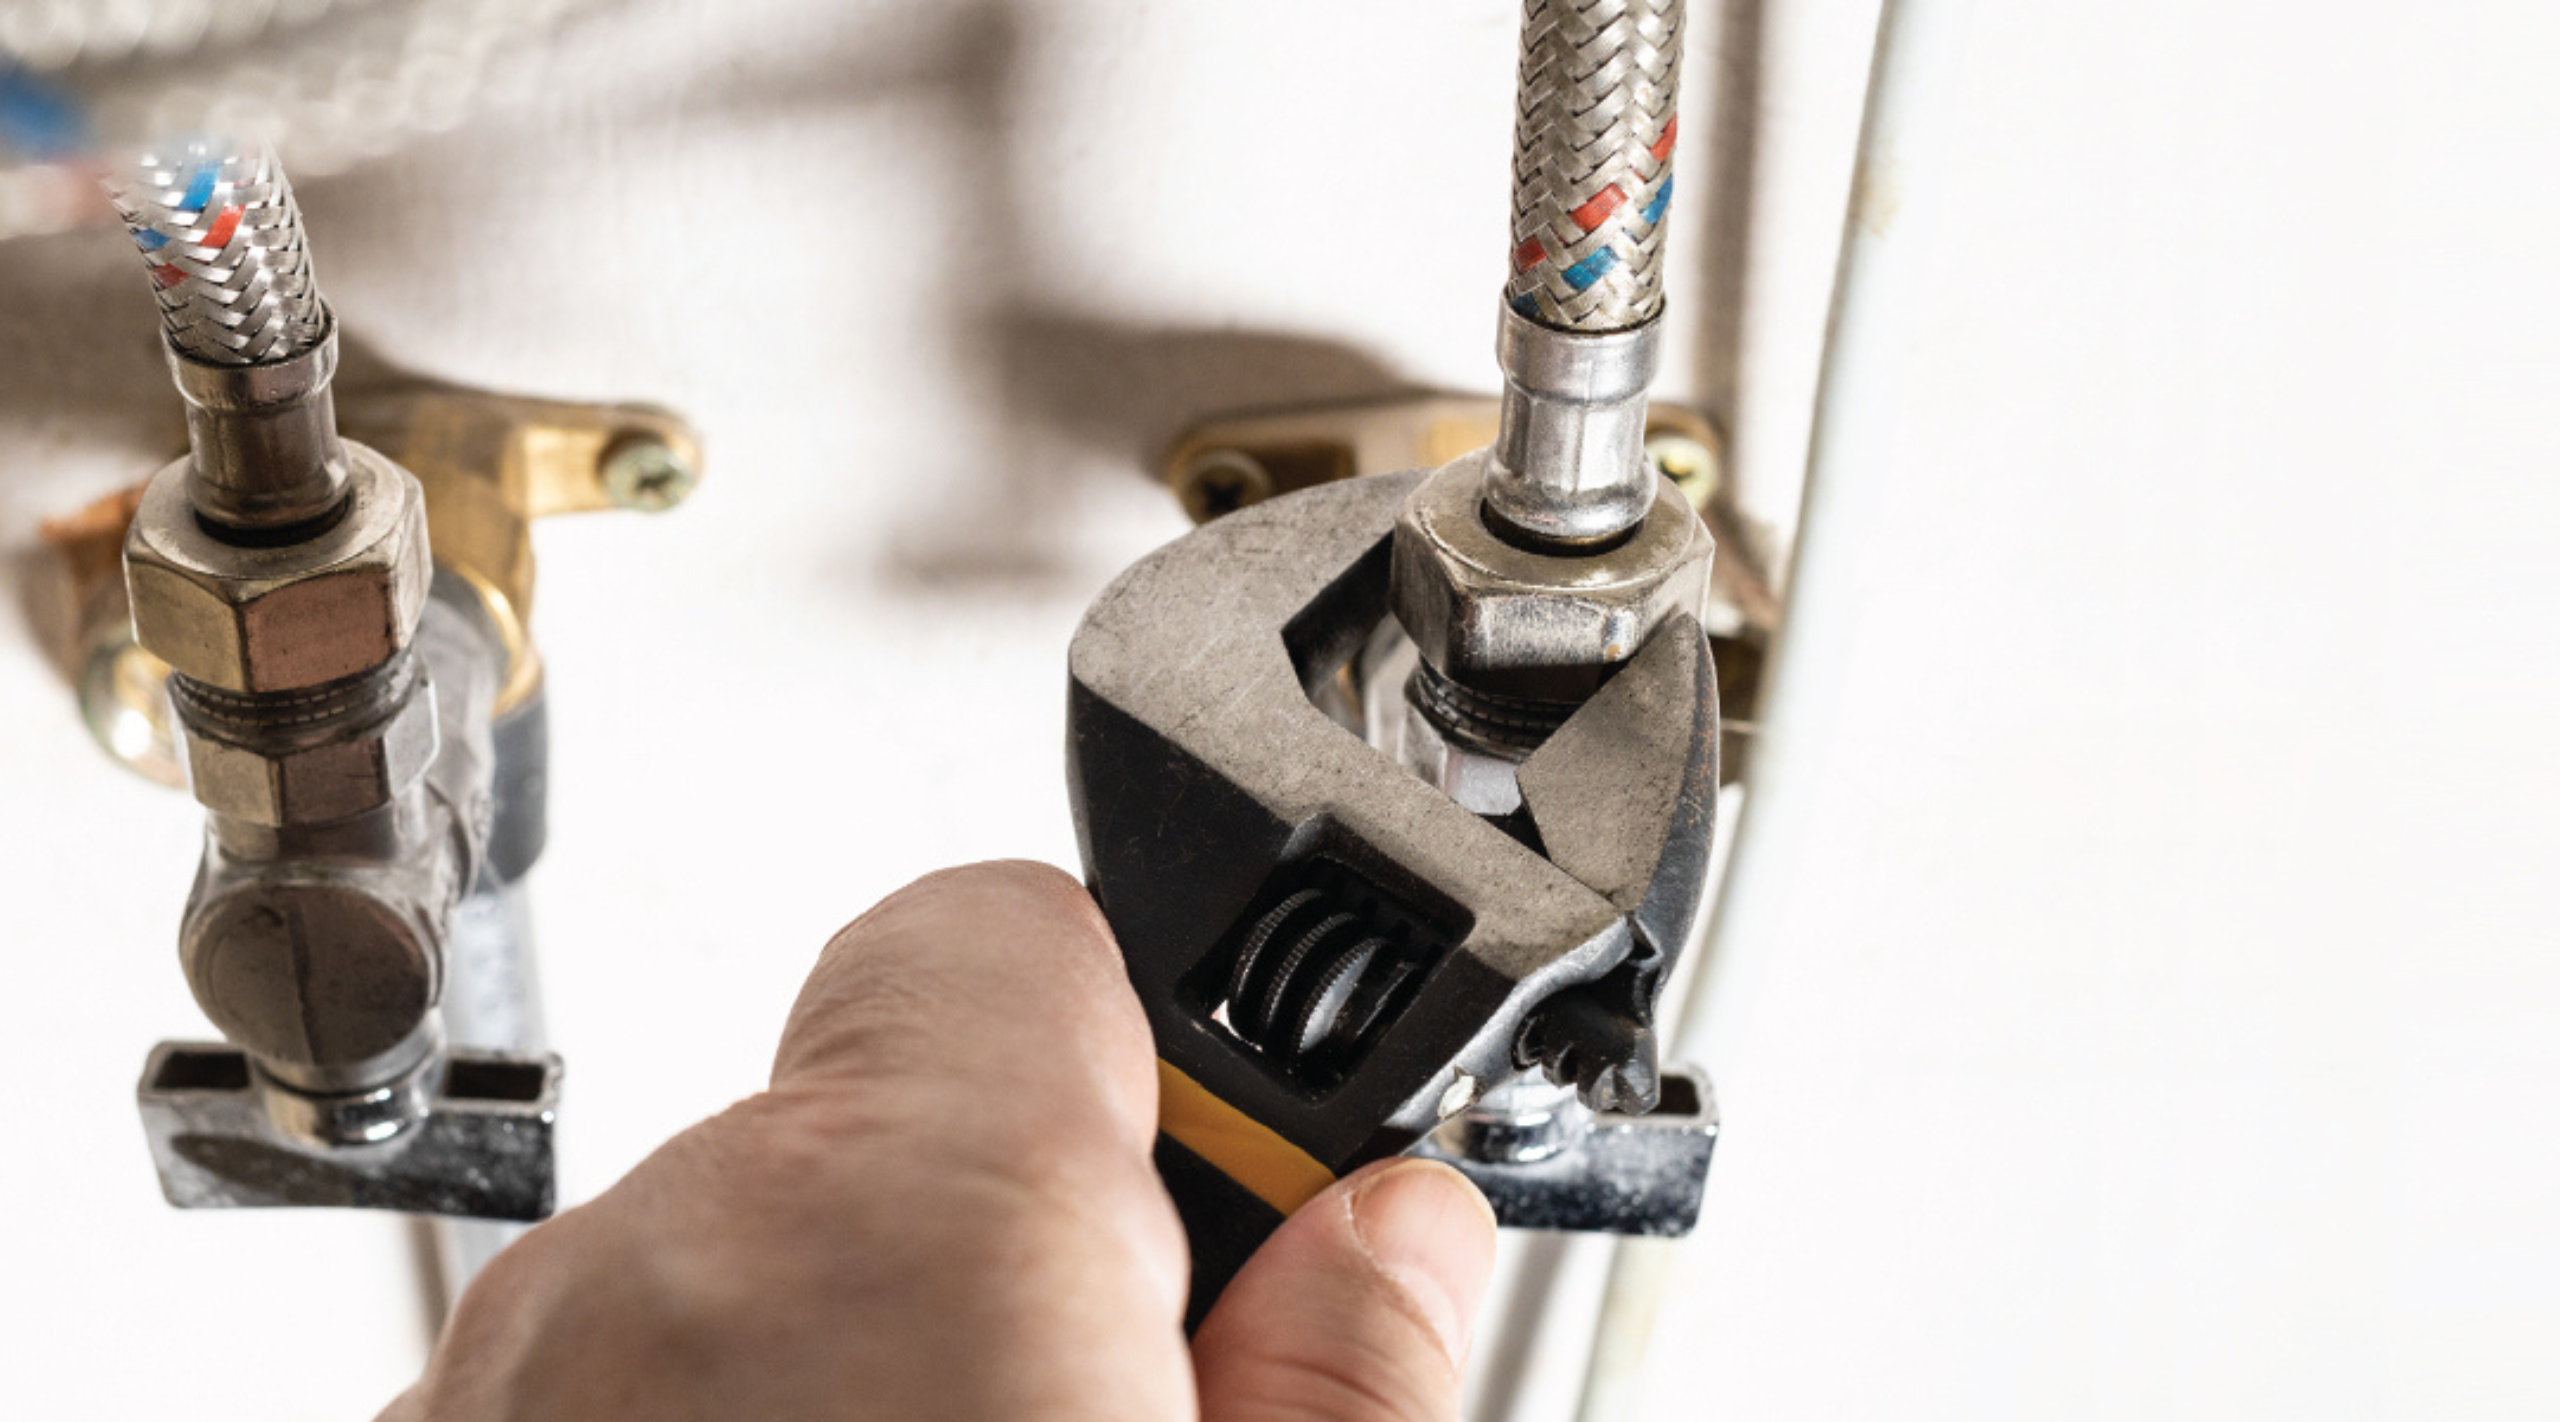
Step 3: Loosen the Compression Nut
For compression angle stops, use the adjustable wrench to loosen the compression nut on both the supply line and the fixture side. Remove the old compression ring if necessary.
Step 4: Install the Quarter Turn Valve
Insert the new quarter-turn valve and hand-tighten the compression nut onto the supply line and fixture side.
Step 5: Tighten the Nuts
Using the adjustable wrench and pliers, tighten both compression nuts securely. Be careful not to overtighten, as this can damage the fittings.
Step 6: Test for Leaks
Turn on the main water supply and check for any leaks around the new angle stop.
Replacing Your Angle Stop – Step-by-Step Guide – PEX Lines:
Step 1: Gather the Tools
You will need PEX cutting tool, a utility knife will work but not recommended. if crimping; a specialized PEX crimping tool. If you are using a push-fit connection you will only need to cut the line clean.
Step 2: Turn Off the Water
Locate the main water shut-off valve and turn it off to prevent any water flow to the angle stop.
Step 3: Removal of Existing Angle Stop
If there is a push-fit angle stop you will need to push the release collar and pull the line out. They do have specialty tools to accomplish this with greater ease. You can also cut the line clean just behind the angle stop to install a new angle stop if there is enough PEX line available coming out from the wall.
Step 4: Install the Quarter Turn Valve
Push-fit: while holding the existing line you will push till you get a fully seated connection. This usually requires a few bumps or clicks as it passes through the opening and then the securing mechanism. A crimp connection you will need a crimp ring on the line before you insert the new angle stop. Using a crimp tool you will connect the PEX line to the PEX angle stop with the crimp ring.
Step 5: Test for Leaks
Turn on the main water supply and check for any leaks around the new angle stop.
Conclusion:
Replacing an angle stop under your sink is a manageable DIY task that can improve the functionality and reliability of your plumbing system. However, if you’re unsure or encounter difficulties during the process, remember that Handymen is always here to assist you. Our experienced technicians can handle minor plumbing issues with professionalism, ensuring your kitchen and bathroom fixtures stay in excellent condition. Feel free to reach out to us for support or any other home repair needs. Happy plumbing!